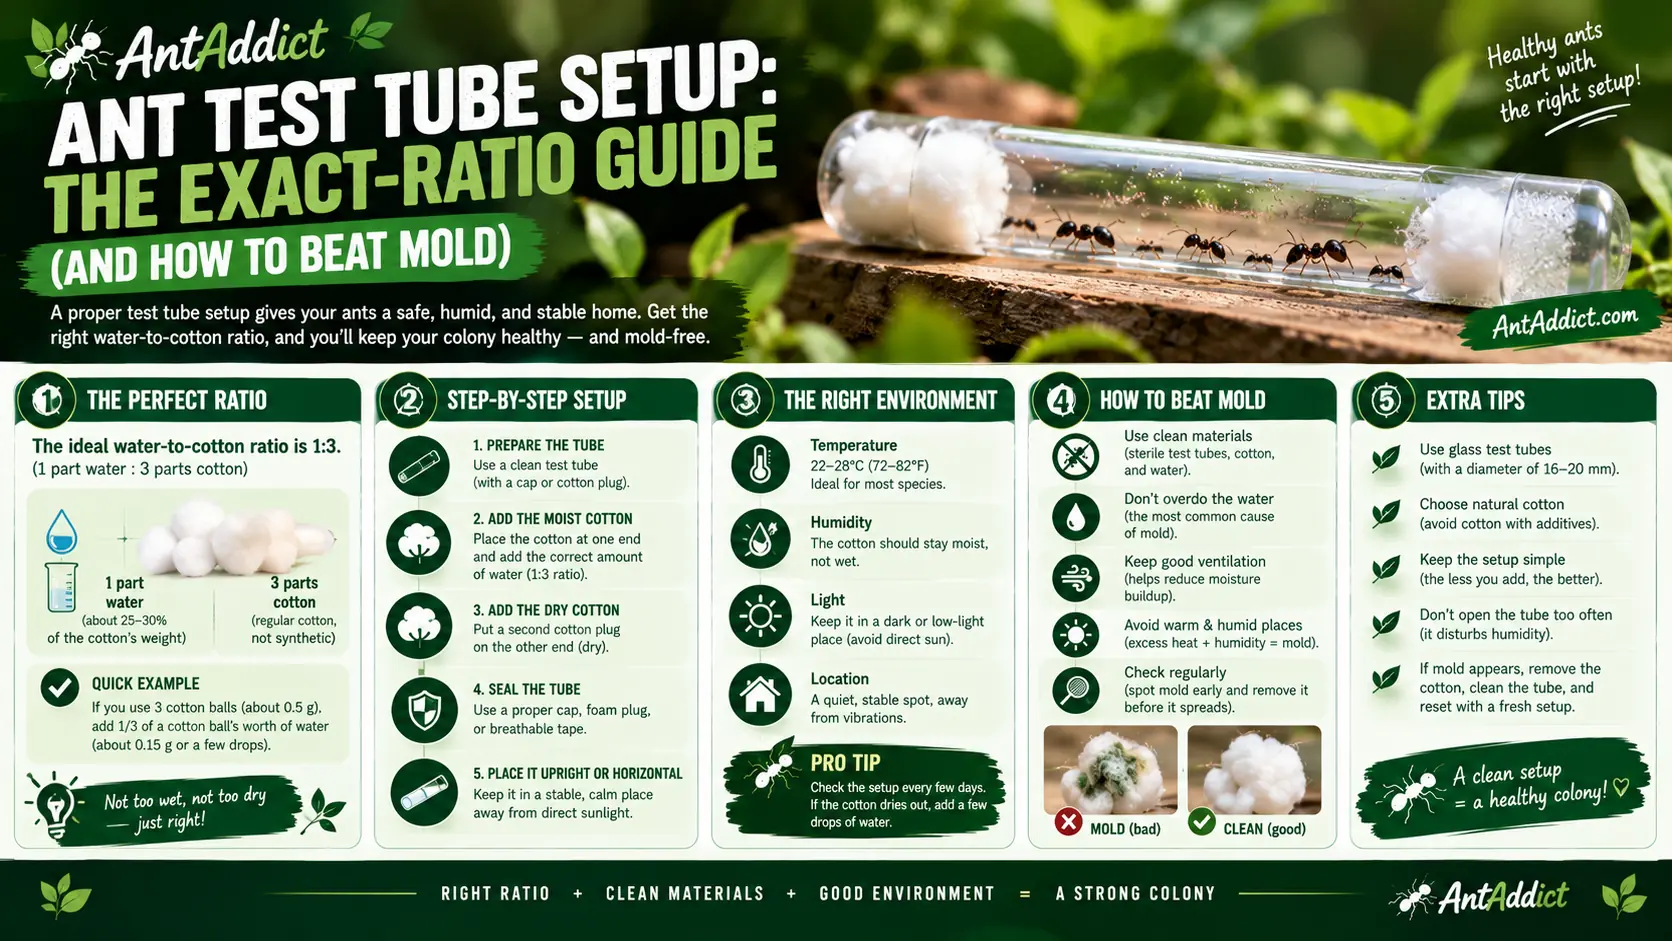
Ant Test Tube Setup: The Exact-Ratio Guide (and How to Beat Mold)
The founding home that makes or breaks your first colony, built right the first time: precise water levels, no air bubbles, and a mold-rescue nobody else explains.
The test tube setup is the single most important thing you will build as a beginner, and it is also the thing new keepers get wrong most often. Not because it is hard, but because the guides online skip the two details that actually matter: the exact water level, and what to do when mold appears. I have set up hundreds of these over six years, and the difference between a queen that thrives and one that dies is almost always in the millimeters.
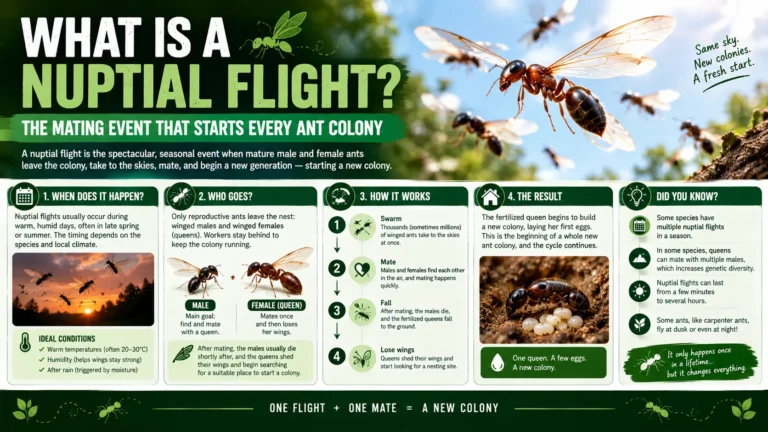
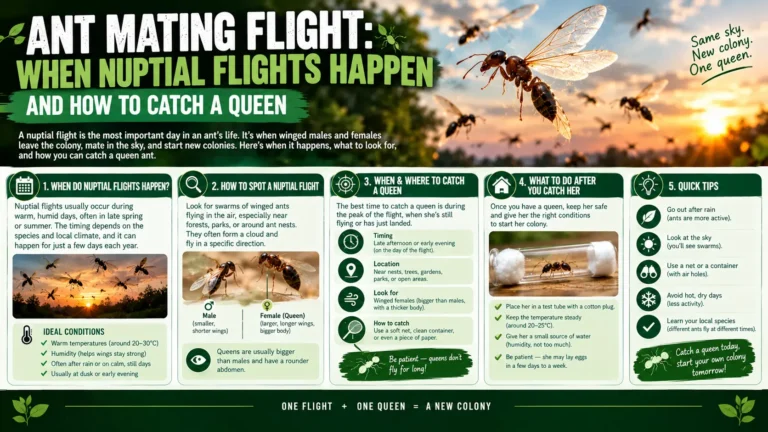
This guide covers exactly what you need, the precise water-to-cotton ratio, the trick to a bubble-free seal, humidity and temperature, feeding, a full troubleshooting table, how to rescue a moldy tube with a tube-to-tube transfer, and when to move your colony out. If you have not caught a queen yet, start with our guide to the ant mating flight, then come back here.

What is an ant test tube setup?
A test tube setup is a simple founding chamber: a test tube with a plug of wet cotton at one end that traps a water reservoir, leaving a dry, dark, humid chamber where the queen lives and raises her first brood. It copies the conditions of the little underground cell a queen digs in the wild: stable, damp, and dark. That is exactly what she needs to found a colony.
It is the standard first home in the hobby for good reason: it is cheap, it holds humidity for weeks with zero effort, and the clear glass lets you check on the queen without disturbing her. A queen and her first workers do not need space. They need stability, darkness, humidity, and to be left alone, and a test tube delivers all four better than any fancy formicarium.
What do you need for a test tube setup?
| Item | Spec / notes | Why it matters |
|---|---|---|
| Test tube | 16 x 150 mm glass (or plastic) | The hobby standard; wide enough for most queens, holds a good water reservoir |
| Water | Clean: distilled, filtered, or dechlorinated tap | Dirty water grows mold faster; that is the whole ballgame |
| Cotton | 100% natural cotton wool (not synthetic/polyester) | Natural cotton wicks water evenly; synthetic fibers wick poorly and can let water seep through |
| Syringe | 3 to 5 ml, no needle | Lets you top up water through the cotton without opening the tube |
| Skewer / chopstick | Thin, blunt | To push the cotton plug down evenly |
| Dark cover | Foil, paper sleeve, or a drawer | Darkness keeps the queen calm during founding |
| Storage box | Any small container or drawer | Keeps tubes stable, dark, and at even temperature |
Do not add sugar, honey, dirt, or sand to the tube. New keepers ask this constantly. Sugar in the water feeds mold and kills your queen faster; substrate just traps waste and hides her. The tube is meant to be bare. Clean glass, clean water, cotton. That is it.
How much water goes in a test tube? (the exact ratio)
This is the question every forum thread asks and no guide answers with a number. Here it is.
In a standard 16 x 150 mm tube, fill about one third with water, which is roughly 40 to 50 mm of water up the tube, or about 5 to 8 ml. After you pack the cotton plug (another 15 to 25 mm), you are left with a nesting chamber of roughly 80 to 90 mm. That is plenty of room for a founding queen and her first dozen workers, and enough water to last one to three months before it runs low.
| Tube section | Length (16 x 150 mm tube) | Purpose |
|---|---|---|
| Water reservoir | ~40 to 50 mm (about 1/3) | Supplies constant humidity |
| Cotton plug | ~15 to 25 mm | Seals the water, lets the queen drink through it |
| Nesting chamber | ~80 to 90 mm | Where the queen and brood live |
| Outer cotton plug | at the mouth | Loose seal, keeps her in, lets air flow |

Do not overfill. More than half water leaves too little chamber and makes the setup prone to leaks and flooding. Less than a quarter runs dry too fast. One third is the sweet spot for a 150 mm tube.
How do you set up a test tube, step by step?
- Fill with water. Add clean water until the tube is about one third full (40 to 50 mm).
- Insert the cotton. Roll a firm plug of natural cotton, and use the skewer to push it straight down until it meets the water. Go slowly so trapped air can escape past the sides.
- Seat it against the water. Push until the cotton just touches the water surface with no air gap between them. The cotton should look damp within a minute as it wicks.
- Add the queen. Gently tip or coax her into the dry chamber. Never pinch her or handle her directly.
- Plug the opening. Loosely place a second piece of cotton at the mouth to seal her in while still letting air through.
- Darken and store. Wrap the tube in foil or lay it in a dark drawer, roughly horizontal, and leave it alone.
Why does my test tube leak, and how do I stop air bubbles?
This is the mechanical failure that quietly drowns more queens than anything else, and it is the part every other guide glosses over. A test tube leaks for one reason: there is an air gap between the water and the cotton. When cotton does not sit flush against the water, the seal breaks, and water seeps down the glass into the chamber, where it pools and can drown the queen or her brood.
The fix is in how you seat the cotton:
- Push the cotton down slowly. Ramming it traps a bubble underneath.
- Let it make contact with the water. You want the cotton touching the surface, not floating a centimeter above it.
- If a big air gap forms, do not fight it. Draw a little water into your syringe and squirt it through the cotton until the gap closes and the cotton is saturated.
- Tilt and gently tap the tube to move any stubborn bubble up past the cotton before you add the queen.
The test: hold the finished tube horizontal for a minute before adding the queen. If a bead of water runs down the glass past the cotton, your seal has a gap. Re-pack it. A dry chamber is a safe chamber.
How do you keep mold out of a test tube setup?
Mold is the number-one killer of founding setups and the number-one thing keepers panic about. Understand this first: a little mold is normal and the queen usually manages it. Fast-spreading mold is the problem, and it almost always comes from contamination, not from darkness or humidity. Prevent it at the source:
- Use clean water. Distilled or filtered beats tap. This is the single biggest factor.
- Clean, dry tubes and clean cotton. Handle cotton with clean hands; oils and dust seed mold.
- Never put food or sugar in the founding tube. Rotting food is a mold farm. A fully claustral queen needs nothing but water.
- Do not cook the tube. Gentle warmth is fine; high heat plus moisture accelerates mold.
- Let the queen clean. She will pile waste and debris at one end. Resist the urge to intervene.
If mold does take over, you do not clean the tube. You move her to a fresh one with a tube-to-tube transfer.
How do you do a tube-to-tube transfer? (the moldy-tube rescue)
Nobody documents this properly, and it is the skill that saves colonies. The principle is simple: ants move themselves toward dark and away from a fouled nest, so you let them relocate on their own instead of forcing them.
- Build a fresh tube exactly as above, clean water and cotton.
- Connect the two tubes mouth to mouth. Use a short piece of vinyl tubing that fits both openings, or butt them together and wrap the joint with tape. Remove the outer cotton plugs so the ants can pass between them.
- Make the old tube bright and the new tube dark. Uncover the moldy tube and expose it to light; wrap the fresh tube in foil. The contrast does the work.
- Wait. Over hours to a couple of days, the queen and workers migrate to the dark, clean tube, carrying their brood. Do not rush or tap the tubes.
- Separate once everyone has moved. Plug the new tube, discard the old one, and you are back to a clean founding home.
Patience beats force. Never dump or scoop a queen to move her; you will injure her or lose brood. The light-versus-dark migration is slower but it is how experienced keepers do it every time.
What humidity and temperature does the tube need?
Humidity takes care of itself. The whole point of the water reservoir is that it keeps the chamber near-saturated, which is exactly what a founding queen wants, so there is no percentage to chase and no misting to do. If the inside of the tube fogs with condensation, that is normal high humidity, not a problem.
Temperature is where you can help. Most temperate species found well at room temperature, and many do best a little warmer, around 75 to 79°F (24 to 26°C). You can warm one end of the tube gently with a heat cable or mat to create a gradient, so the queen chooses her preferred spot, but never heat the whole tube hot, and keep the heat away from the water end to avoid cooking her or speeding up mold. Tropical species may want it warmer; research your exact species.
Do you feed a queen in a test tube?
For a fully claustral queen (most common beginner species like Lasius and Camponotus), no. She raises her first workers entirely on her own fat and wing-muscle reserves, and feeding her only risks stressing her and growing mold. Give her water, which the reservoir already does, and nothing else.
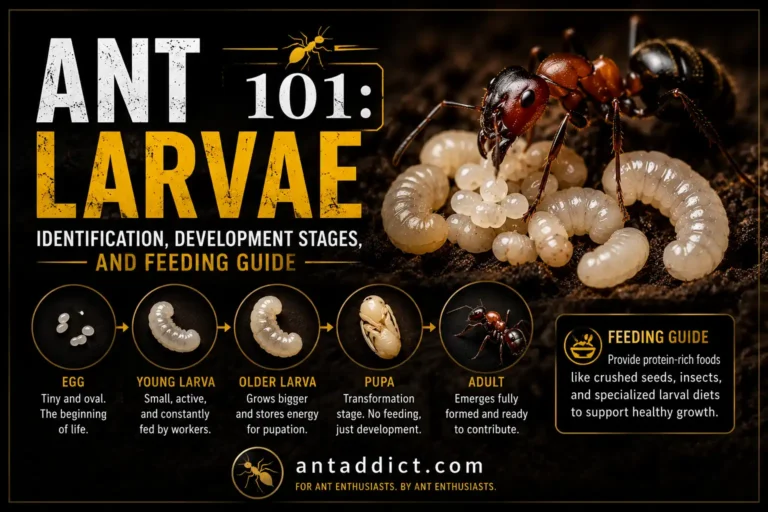
Once the first workers (nanitics) appear, start feeding: a tiny drop of sugar water or diluted honey, and small pieces of insect protein, offered at the mouth of the tube or in a small outworld. Semi-claustral queens (such as Pogonomyrmex) are the exception and do need small feedings during founding. For a full breakdown of the founding-stage diet, see our guide to what queen ants eat.
How often should you check the queen?
As little as possible. Once a week, for a few seconds, is plenty. Founding queens read light and vibration as danger, and a queen that feels unsafe will eat her own eggs to reclaim the energy. Keep the tube dark and still, resist the urge to peek daily, and let her work. The single most common cause of a failed founding is not mold or leaks: it is a keeper who could not leave the tube alone.
How long can ants stay in a test tube, and when do you move them out?
A colony can happily live in a test tube for months, right up until it outgrows the space or the water runs low. Do not rush the move; a small colony in a big formicarium struggles to hold humidity and gets stressed. Move out when you see these signals:
| Signal | What it means |
|---|---|
| Around 20+ workers | The colony is stable enough to handle a larger space |
| Tube looks crowded | Workers and brood are packed; they need room |
| Water reservoir nearly gone | Time for a fresh tube or a proper nest with hydration |
| Repeated fouling / mold | The tube is spent; transfer to fresh housing |
| Active foraging | Workers are confidently leaving the tube to find food |
When you do move them, connect the test tube to the new nest or outworld and let them walk over on their own, the same light-and-dark principle as the transfer above.
Test tube setup troubleshooting
The table no other guide gives you. Match the symptom, find the cause, apply the fix.
| Problem | Likely cause | Fix |
|---|---|---|
| Water leaks into the chamber | Air gap between water and cotton, or loose plug | Re-pack the cotton flush against the water; add water via syringe to close the gap |
| Big air bubble under the cotton | Cotton pushed in too fast | Syringe water through the cotton until the gap closes; tap the bubble up past the plug |
| Fast-spreading mold | Dirty water, food in tube, or dirty cotton | Tube-to-tube transfer to a fresh clean tube; never add food during founding |
| Queen restless, won’t settle | Too much light, handling, or vibration | Darken fully, stop checking, keep the tube somewhere still |
| Queen ate her eggs | Stress from disturbance or light | Leave her completely alone; healthy queens re-lay |
| Reservoir dried out early | Loose cotton, evaporation, or warm spot | Top up through the cotton with a syringe, or transfer to a fresh tube |
| Heavy condensation, can’t see in | Normal high humidity | Nothing needed; wait, or loosen the outer plug slightly for airflow |
| Queen or workers stuck in water | Broken cotton seal / leak | Fix the seal immediately; transfer if the chamber is flooded |
The bottom line
A test tube setup is the cheapest, simplest, most reliable founding home there is, and getting it right comes down to a few millimeters and a lot of restraint. Fill about a third with water, seat the cotton flush so there is no air gap, keep it dark and undisturbed, and do not feed a claustral queen until her first workers arrive. When mold shows up, do not scrub, transfer. Do that, and the humble test tube will carry your queen from a single ant to a colony ready for a real nest. Build it right, then walk away and let her work.
Frequently asked questions
How much water do you put in an ant test tube?
About one third of a 16 x 150 mm tube, which is roughly 40 to 50 mm of water, or about 5 to 8 ml. After the cotton plug you are left with an 80 to 90 mm nesting chamber, and that much water lasts one to three months.
Why does my ant test tube keep leaking?
There is an air gap between the water and the cotton, so the seal fails and water seeps down the glass. Push the cotton flush against the water surface, and if a gap forms, syringe water through the cotton until it closes.
How do I stop mold in my test tube?
Use clean or distilled water, clean tubes and cotton, and never put food or sugar in a founding tube. A little mold is normal and the queen manages it; fast-spreading mold means you should transfer her to a fresh tube.
Should I feed a queen ant in a test tube?
Not if she is fully claustral, which covers most beginner species. She lives off her own body reserves until the first workers appear, then you can offer sugar water and small insects. Semi-claustral queens do need small feedings during founding.
Do I need to add sugar or dirt to the test tube?
No. Sugar feeds mold and dirt traps waste and hides the queen. Keep the tube bare: clean glass, clean water, cotton, nothing else.
How long can ants live in a test tube?
Months, until the colony outgrows the space or the water runs low. Do not move them out early; a small colony holds humidity and stays calmer in a test tube than in a large formicarium.
When should I move my ants out of the test tube?
Around 20 or more workers, when the tube looks crowded, the water is nearly gone, or the tube keeps fouling. Connect the tube to the new nest and let them walk over themselves.
What size test tube is best for ants?
16 x 150 mm is the hobby standard and suits most queens. Very large queens may prefer a wider tube, but 16 mm works for the common beginner species.
Can I use tap water in a test tube setup?
Dechlorinated or filtered tap water works, but distilled or filtered water resists mold better and is worth it for the founding stage.
How do I move my queen to a new test tube?
Connect the old and new tubes mouth to mouth, expose the old tube to light, and wrap the new one in darkness. The colony migrates to the dark, clean tube on its own over hours to days. Never scoop or dump the queen.
Why is my test tube full of condensation?
That is normal high humidity from the water reservoir, exactly what a founding queen wants. If it bothers your view, loosen the outer cotton plug slightly for a little airflow.
Last reviewed September 2026. Biological claims (claustral founding, humidity needs) are cross-checked against the sources below; the husbandry specifics reflect hands-on keeping experience. Always adjust for your own species and local conditions.
Keep reading on Antaddict: Ant mating flight: catching your queen · How to catch your first queen ant · What queen ants eat · Nuptial Flight Predictor
References
- Hölldobler, B. & Wilson, E. O. (1990). The Ants. Harvard University Press. (Claustral colony founding and the queen’s use of body reserves.)
- Nuptial Flights and Mating. AntWiki. antwiki.org (Founding biology and species variation.)